The converter uses a GUI, but can be used non-interactively in batch mode with command-line arguments and a supplementary converter command file containing information about your data.
Below you will find some basic issues to keep in mind when using the converter, followed by instructions on how to use the converter in both batch and GUI modes.
Important: If you wish to map trait alleles, you will need to write a converter command file and run the converter in batch mode. The capacity to read and output trait data has not yet been added to the GUI.
Topics covered in this article:
There are several things you must do before you can produce a lamarc input file that will run successfully:
The converter can convert PHYLIP, RECOMBINE and MIGRATE files to the format used by the LAMARC program. With a tiny amount of hand-editing it can also convert COALESCE and FLUCTUATE files.
If you have a COALESCE or FLUCTUATE file, you will need to edit it slightly in a text editor first.
If your data file is not in any of these formats, check to see if the software which produced it has an option to write PHYLIP files. For example, PAUP* can convert many types of files to the PHYLIP format.
Currently the converter can handle DNA, RNA, and SNP sequence files in PHYLIP or MIGRATE format, and microsatellite and K-Allele files in MIGRATE format.
PHYLIP, MIGRATE and the LAMARC's predecessor programs (COALESCE and RECOMBINE) store nucleotide sequence data in either interleaved or sequential form. Unfortunately, these formats don't always contain enough internal evidence for the computer to guess correctly whether the data are interleaved or not, so you may have to provide this information. (The problem is that strings like "CAT" are both legal sequence names and legal DNA.)
| Phylip example file with interleaved sequences | Phylip example file with sequential sequences |
|---|---|
3 10 cat acttg dog acttg pigeon acttg gtGca gtGcT gAtca |
3 10 cat acttg gtGca dog acttg gtGcT pigeon acttg gAtca |
The formats should be relatively easy to distinguish if you look at them yourself. While the converter will try to figure it out algorithmically, in some cases it will give up, and you must tell it which format is present.
In the absence of a defined delimiter character, the MIGRATE file format for microsatellite or elecrophoretic data assumes that you have collected two alleles per marker per individual. If this is not the case (perhaps your organism is haploid, or you collected your data in a way that produces only one allele per marker per individual) you can make a MIGRATE file with one, rather than two, entries. However, you must specify the delimiter character (even though you will not be using it!) at the top of your MIGRATE file. If you don't, your single allele may be interpreted as two alleles (i.e. a microsatellite of "27" may turn into "2" and "7"). Give an explicit delimiter to avoid this problem.
If you have diploid (or more) data and some of your data has unresolved phase, you may need to include phase resolution information via a converter command file.
Previous LAMARC releases allowed combined analyses of data samples from different regions of an organism's genome only when these regions were either on separate chromosomes, or far enough separated on a single chromosome that each data sample was completely unlinked to the others. It was also not possible to explicitly represent known variations in relative mutation rate within a data sample.
As of LAMARC 2.1, we have relaxed this restriction, allowing you to mix and match different data types even when they are linked. So, for example, the increasingly-popular data type of microsatellite next to a SNP may now be modeled in LAMARC and will be analyzed appropriately.
If you have any of the following types of data,
If you have a more straightforward data set such as a single DNA sequence or a set of unlinked microsatellites, reading and following this section should be sufficient to get you up to speed with the converter.
The majority of LAMARC 2.0 and earlier input files should work unmodified in version 2.1, with the sole exception of those 1.1.1 files with the "<map_position>" tag, which must be changed to "<map-position>" (see the changes documentation).
The file conversion process creates a lamarc input file with just the data, so when it is read in by LAMARC, defaults will be used for all parameter estimations. To get LAMARC to estimate what you want it to estimate, use the LAMARC menu, or edit the XML itself after you have produced your LAMARC infile.
If you ever need to get a PHYLIP file from a LAMARC XML file, one way to do so is to run LAMARC with "normal" or "verbose" output (see the menu documentation). This will cause the input data to be printed into the output file in a very PHYLIP-like format. You can use a text editor to move this into a file of its own and make the minor changes needed to create a PHYLIP file.
To run the lamarc file converter in GUI mode on a Linux or Unix system, the command is:
lam_conv [-c <commandfile>] [ <datafile>... ]
On Windows or a Mac simply double click on the application icon. You can open command files and data files using the File menu of the application.
To run on a Linux, Unix, or Mac in batch mode, you'll need to add command-line options:
lam_conv -b -c <commandfile>
(The Mac executable can be found in lam_conv.app/Contents/MacOS/lam_conv.)
On a Windows system, use
lam_conv.exe -b -c <commandfile>
The '-b' option tells the converter to run in batch mode, and the '-c' option tells the converter the name of an XML file you have created that tells the converter where your data is, and what to do with it. If you wish, you can use the "-c [filename]" option without the -b option, and the converter will load in the data according to that file, and then let you further modify things within the GUI.
The command file is not needed to run the converter in interactive mode; the single exception (at present) is if you wish to include trait data for mapping.
This section demonstrates the converter in use on a simple DNA file in migrate format, chrom1.mig. This file is not real data, but was instead constructed to be easily inspected and checked for correctness.
   2 1  Example: chromosome 1 with single dna segment
9
6    North
n_ind0_a  ccccccAcc
n_ind0_b  TcccccAcc
n_ind1_a  ccccccTcc
n_ind1_b  TcccccTcc
n_ind2_a  ccccccGcc
n_ind2_b  TcccccGcc
4    South
s_ind0_a  cTccTcccc
s_ind0_b  ccccTcccc
s_ind1_a  cTccccccc
s_ind1_b  ccccccccc
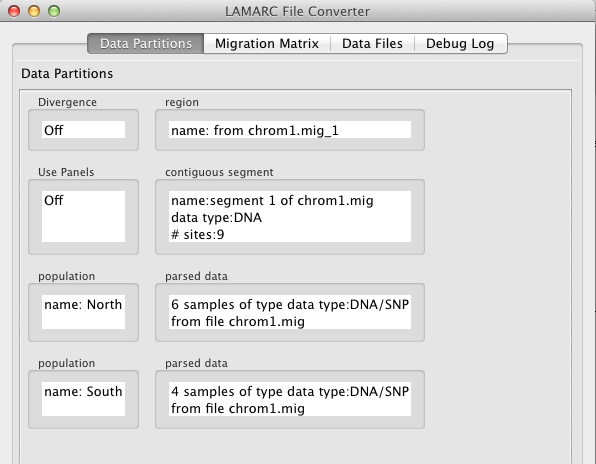
Upon reading in the file, the GUI looks like this:

Note that there are 4 tabs:
There are also 2 buttons which are discussed later:
Focusing first on the Data Partitions the following things are worth noting:
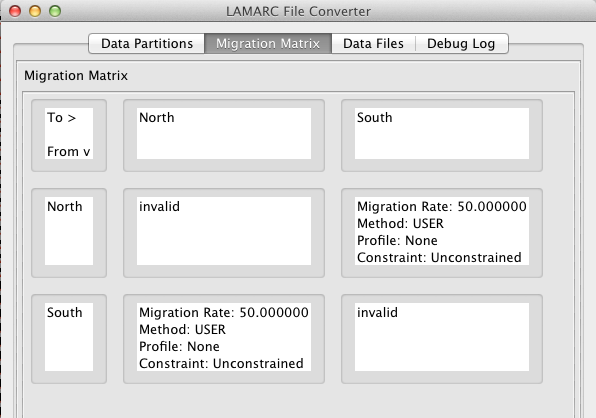
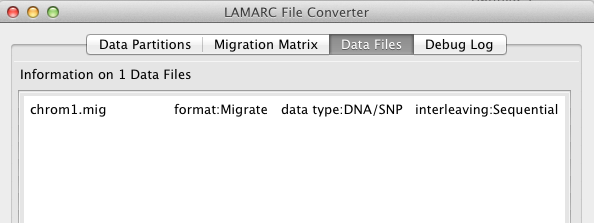
The Data Files tab shows that the converter was able to determine that the data in file chrom1.mig is of type DNA or SNP,
The Debug Log tab shows whatever housekeeping comments the software has output. This is usually not very interesting, but if we have to debug something for you, it will be vital.

Returning to the Data Partitions tab, if you try to convert the file (using File > Write Lamarc File from the GUI menu), you will see the following error message:
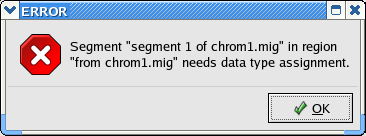
The problem is that the converter needs you to tell it whether this is DNA or SNP data. To fix this problem, double click on the text inside contiguous segment box in the Data Partitions panel. You will see a new window that looks something like this:
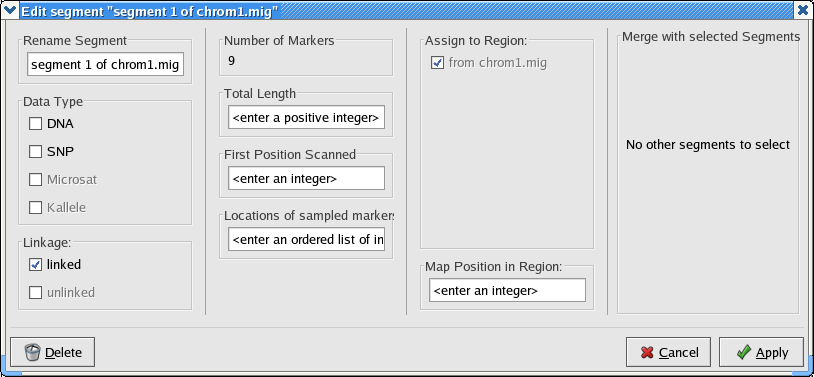
Select the DNA check box and click Apply. Now when you choose File > Write Lamarc File from the file menu, you will get a directory browser window like this one in Linux:
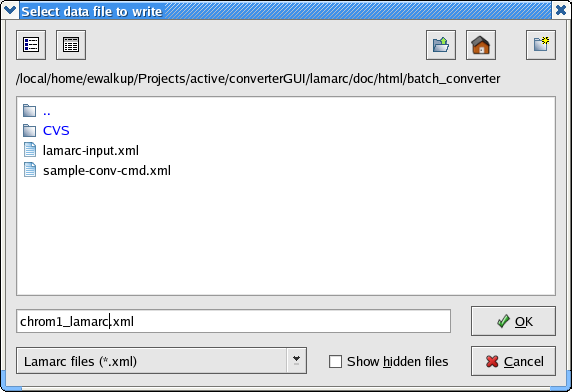
and like this under OS X:
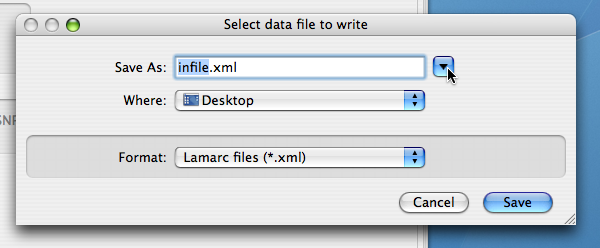
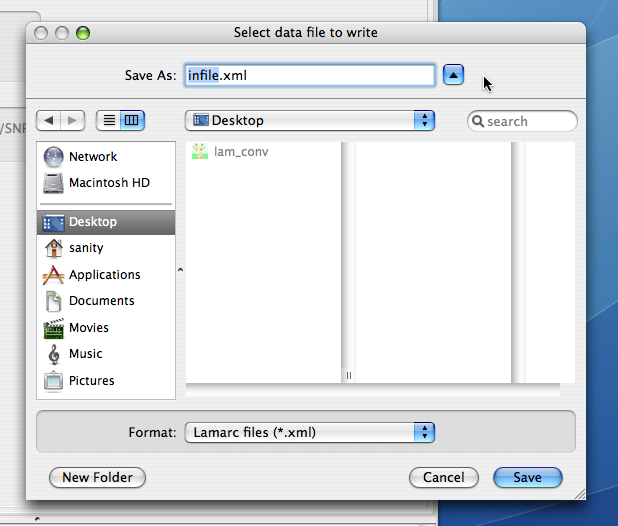
Click the button with the triangle at the top for more complete navigation through your directory system.
The resulting lamarc file will look like this (the actual xml is here).